Our Python editor
Welcome to the first section!
Throughout this course, I recommend you code along with me. By writing code, you'll learn fastest.
However, I don't want you to get too bogged down with installing Python, editors, IDEs, etc...
For now, I recommend you work with an online editor which is powerful, fast, and free. You don't even have to create an account to use it!
The editor is https://repl.it/languages.
Creating a Python project
To create a Python project, select "Python" under the languages list.
That gives you a new project that you can edit and run, directly in your browser.
Don't select "Python 2.7", as that uses an old version of Python.
Running our Python project
There are three main parts to a repl.it project:
- Files
- Code
- Terminal
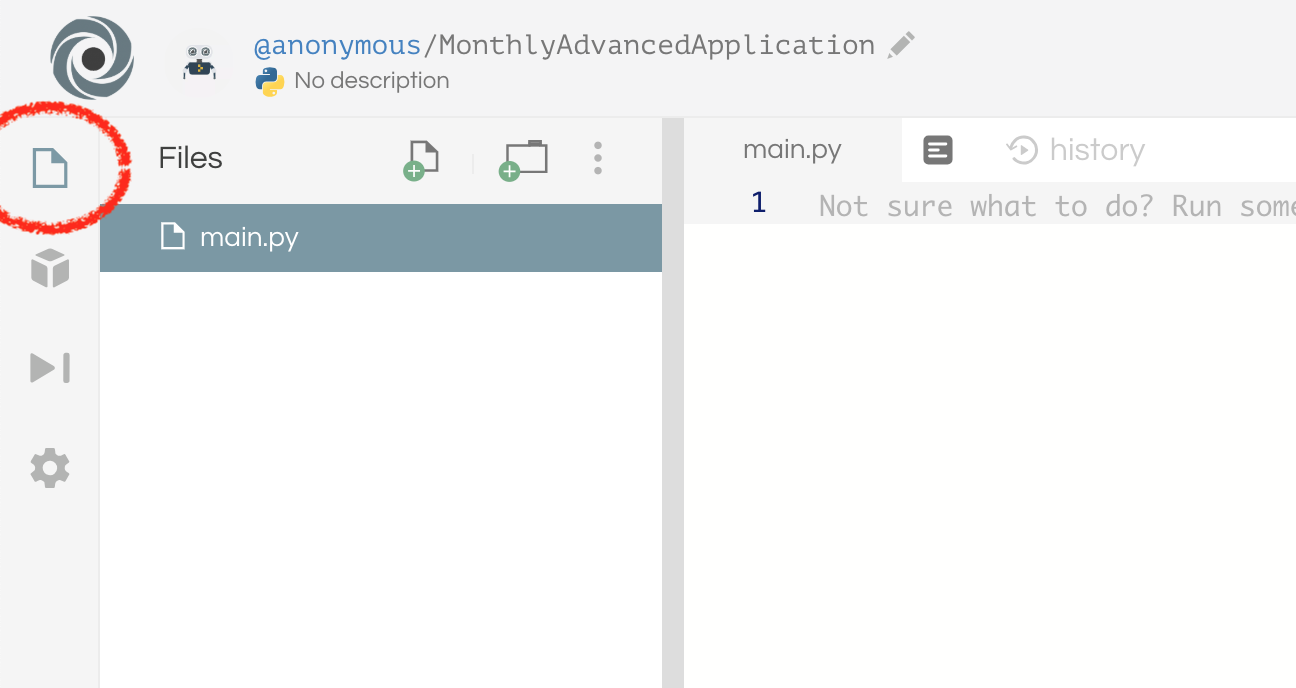
For this entire section we'll be working with a single file, so we don't need the Files part. You can close your Files part by clicking on its icon:

Once that's closed you can write your code in the Code part, on the left.
When you run the project, output (if there's any) will appear on the Terminal part, on the right.
You can run your project by clicking the green "Play" icon:

Making an account
You don't have to make an account if you don't want.
However, making an account lets you save your repls under your profile so it's easier to find them later. If you don't make an account you'll have to remember the URL (web address) of each repl you create.
Creating new projects
I recommend you create new repls often. Whenever we discuss a new concept, create a new repl for it.
That will help you come back to things if you want to review them and keeps things organised.
You can always create new repls by going to the link above, or here: https://repl.it/languages.
Throughout the chapters, I've also embedded editors in this e-book. Whenever you see a repl-looking component, you can type in it and run your code, directly from this e-book's website.